

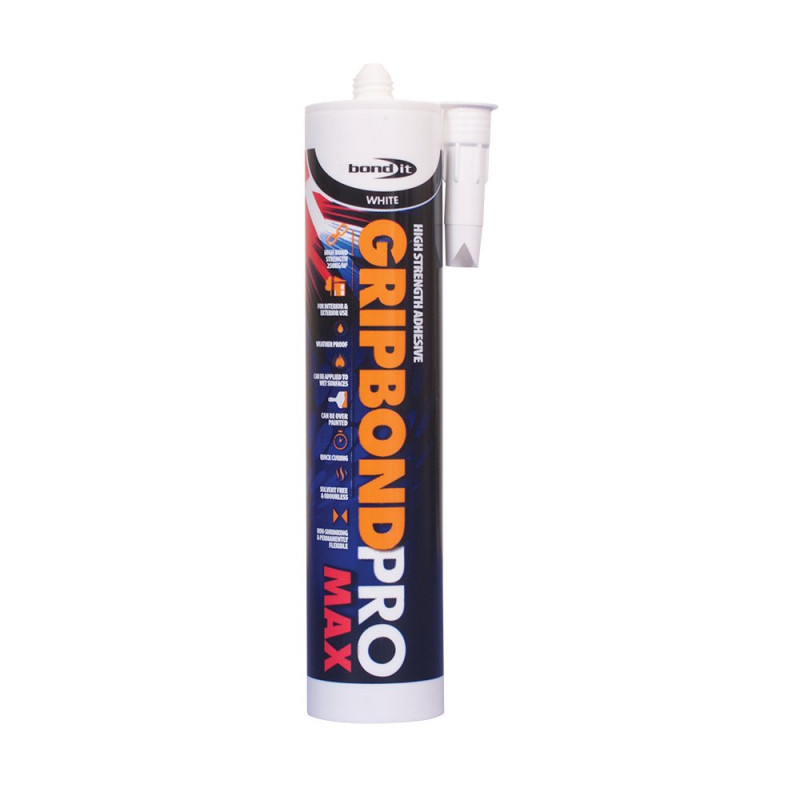
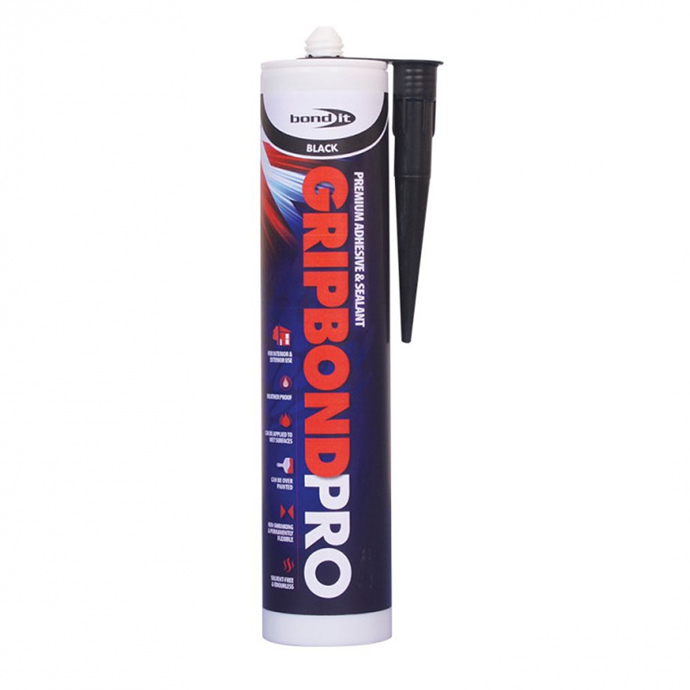
Bond It Pro Range – Gripbond Pro Max Hybrid Adhesive 310ml
£4.36 inc. VAT
£3.63 ex. VAT
- Product ID: BDPPROWH
- Suitable For: use in all weather conditions with double the grab of most adhesives
- Area of use: INT & EXT
- Application Method: silicone gun
- Time to full cure: 24 hours
- Volume: 310ml
- Container Type: cartridge
- Type: adhesive
- Colour: white
- Brand: Bond It
- Manufactuer: Bond It
- Box Size: 1
Bond It Gripbond Pro Max is an advanced adhesive product that offers several remarkable features, making it suitable for a wide range of applications both indoors and outdoors. Here are the key characteristics and benefits of Gripbond Pro Max:
- High Initial Grab: Gripbond Pro Max boasts double the initial grab compared to most other grab adhesives. This means it provides a strong and immediate bond, reducing the need for additional mechanical support in many applications.
- Ultimate Bond Strength: The adhesive has a high ultimate bond strength, ensuring a durable and long-lasting connection between bonded surfaces.
- Suitable for All Weather Conditions: This adhesive is designed to perform reliably in various weather conditions, both internal and external. It remains effective and stable even when exposed to challenging environmental elements.
- Superb Adhesion on Wet Surfaces: One of the standout features of Gripbond Pro Max is its ability to adhere effectively to wet surfaces. This quality makes it highly versatile and ideal for applications where moisture is present.
- Quick Curing: The adhesive cures rapidly, facilitating faster project completion and reducing downtime.
- Weather Resistant: Gripbond Pro Max is formulated to withstand the impact of different weather conditions without compromising its bonding performance.
- Safe to Use: The adhesive is free from isocyanates, solvents, and acids, making it safer for users and environmentally friendly.
- Remains Fully Elastic: Even after curing, the adhesive retains its elasticity. This flexibility is essential for accommodating movement and vibrations without cracking or losing adhesion.
- Interior and Exterior Applications: Gripbond Pro Max is suitable for both indoor and outdoor projects, offering versatility and convenience.
- Permanently Flexible: The adhesive remains permanently flexible, ensuring it can adapt to the changing conditions of the bonded materials without losing its bonding properties.
- Over-Paintable: The adhesive can be painted over with water-based paints, allowing it to blend in with the surrounding surfaces and maintain a seamless appearance.
- Non-Staining and Non-Discoloring: Gripbond Pro Max will not leave stains or discoloration on the surfaces it bonds to. This makes it particularly well-suited for use on natural stone and other sensitive materials.
- No Odor: The adhesive is odorless, making it more pleasant to work with and suitable for indoor applications where strong odors may be an issue.
Overall, Gripbond Pro Max is a highly effective and versatile adhesive with a range of valuable properties that make it a reliable choice for various bonding projects, especially in situations where immediate and strong adhesion is crucial. Its weather resistance, flexibility, and paintability add to its appeal for both professional and DIY applications.
For application guns to use with this product, click here.
For all other Bond-it products, please click here.
For any further information you may need on Bond-it, please visit their website here.
Gripbond Pro Max is an adhesive with exceptional bonding properties that make it stand out among other grab adhesives. Here are its key features:
- High Initial Grab: Gripbond Pro Max provides double the initial grab strength compared to most other grab adhesives. This means it forms a strong bond quickly, reducing the need for additional mechanical support in many applications.
- Typical Bond Strength: The typical bond strength for Gripbond Pro Max is 250 kg/m². This indicates the amount of force it can withstand per square meter of bonded area, ensuring a reliable and robust connection between materials.
- Ultimate Bond Strength: In addition to its high initial grab, Gripbond Pro Max also offers a high ultimate bond strength. This means that once fully cured, the adhesive forms a long-lasting and durable bond between the surfaces.
- Suitable for All Weather Conditions: Gripbond Pro Max is designed for use in both internal and external applications, performing well in various weather conditions.
- Superb Adhesion on Wet Surfaces: The adhesive exhibits excellent adhesion qualities even on wet surfaces. This makes it highly versatile and suitable for projects where moisture is present.
- Quick Curing: Gripbond Pro Max cures rapidly, allowing for faster completion of projects and reducing downtime.
- Weather Resistant: The adhesive is designed to withstand the impact of different weather conditions without compromising its bonding performance.
- Safe to Use: Gripbond Pro Max is isocyanate, solvent, and acid-free, making it safer for users and the environment.
- Remains Fully Elastic: Even after curing, the adhesive retains its elasticity, allowing it to accommodate movement and vibrations without losing adhesion.
- Suitable for Various Surfaces: Gripbond Pro Max can be used on a wide range of materials, including metal, wood, glass, stone, polystyrene, concrete, plasterboard, insulation board, ceramics, polyester, and more. This versatility makes it a go-to adhesive for various projects.
With its impressive bonding performance, weather resistance, and compatibility with numerous materials, Gripbond Pro Max proves to be a reliable adhesive choice for both professionals and DIY enthusiasts across various applications.
APPLICATION
Step 1: Prepare the Cartridge: Carefully cut the tip of the cartridge using a sharp knife or cutter. Be cautious not to damage the threaded area of the cartridge. The size of the cut will determine the size of the bead or strip that the adhesive will dispense.
Step 2: Attach the Notched Nozzle: Screw on the “notched” nozzle that comes with the adhesive cartridge. The nozzle is designed to control the size and shape of the adhesive bead during application. Ensure it is securely attached to the cartridge.
Step 3: Load the Cartridge into the Sealant Gun: Place the prepared cartridge into a standard sealant gun. Ensure it is loaded securely so that the adhesive can be dispensed smoothly during application.
Step 4: Apply the Adhesive: Apply the adhesive to one of the surfaces you wish to bond. Use the sealant gun to dispense the adhesive in the form of beads or strips along the surface. Be precise and consistent with the application to achieve an even bond.
Step 5: Bond the Surfaces Together: Carefully press the surfaces you want to bond together, ensuring the adhesive-covered surface comes in contact with the other surface firmly. If adjustments are needed, make them quickly before the adhesive starts to cure.
Step 6: Allow to Cure: After bonding the surfaces together, allow the adhesive to cure. The curing time may vary depending on environmental conditions, the materials being bonded, and the thickness of the adhesive layer. Follow the manufacturer’s recommendations for the specific curing time of Gripbond Pro Max.
LIMITATIONS
- Immersion in Water: The adhesive is not suitable for installations where joints will be permanently immersed in water. For applications in constant contact with water, other specialized adhesives should be used.
- Surfaces that Bleed Oils or Plasticisers: Gripbond Pro Max is not recommended for use on surfaces that release oils or plasticizers, as this may interfere with the adhesive’s bonding performance.
- Overhead Applications: When using the adhesive for overhead applications, it is essential to combine it with mechanical fixings for added support and safety.
- Large Mirrors: Gripbond Pro Max is recommended for bonding large mirrors but should be used in conjunction with mechanical fixings for extra security.
- Temporary Support for Large and Heavy Items: When bonding large and/or heavy items, it is advised to provide temporary support until the adhesive achieves full cure to prevent slippage or movement during the curing process.
- Not Suitable for Polypropylene or Teflon: Gripbond Pro Max is not suitable for bonding polypropylene or Teflon surfaces. Alternative adhesives compatible with these materials should be used.
- Overpaintable: The adhesive can be painted over, but the compatibility of the paint should be tested in an inconspicuous area before full application. Different paint types and qualities may interact differently with the adhesive.
As with any adhesive product, it is crucial to adhere to the manufacturer’s guidelines and recommendations for proper usage. Following these guidelines will ensure that you achieve the best results with Gripbond Pro Max and avoid any potential issues during and after the bonding process.
You must be logged in to post a review.
| Elementlength | |||||||
| up to 1,5 m |
up to 2,5 m |
up to 3,5 m |
up to 4,5 m |
up to 2,5 m |
up to 3,5 m |
up to 4,5 m |
|
| Type of window frame material |
Minimum witdth of joints for a butled mounting b in mm |
Minimum witdth of joints for a inner mounting b in mm |
|||||
| Hard PVC (white) | 10 | 15 | 20 | 25 | 10 | 10 | 15 |
| Hard PVC and PMMA (dark) (colour extruded) |
15 | 20 | 25 | 30 | 10 | 15 | 20 |
| Hard PUR integral foam | 10 | 10 | 15 | 20 | 10 | 10 | 15 |
| Wood-aluminium-window | 10 | 10 | 15 | 20 | 10 | 10 | 15 |
| Aluminium-plastic sandwich frame (bright) |
10 | 10 | 15 | 20 | 10 | 10 | 15 |
| Aluminium-plastic sandwich frame (dark) |
10 | 15 | 20 | 25 | 10 | 10 | 15 |
| Wooden window frame | 10 | 10 | 10 | 10 | 10 | 10 | 10 |
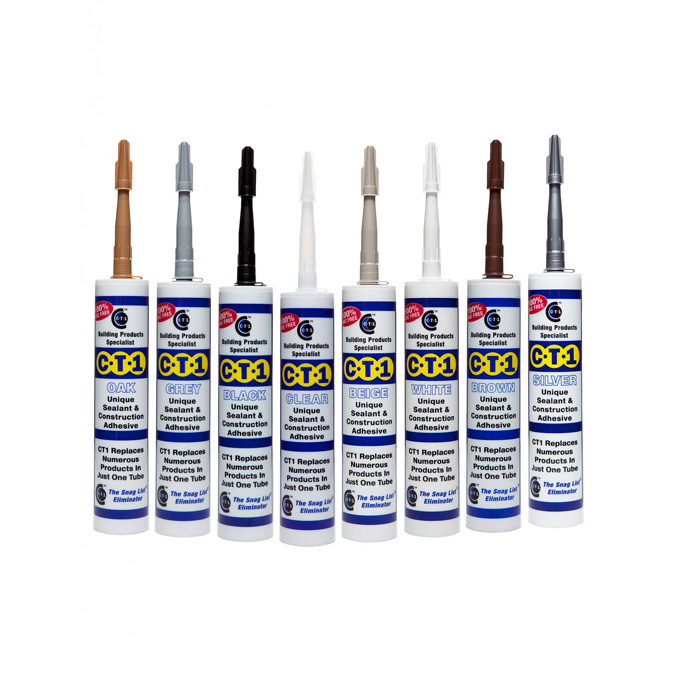
Related Products
-

From: £4.56 inc. VAT
£3.80 ex. VAT
From: £4.56 inc. VAT
£3.80 ex. VAT -
-
-
From: £3.56 inc. VAT
£2.97 ex. VAT
From: £8.03 inc. VAT
£6.69 ex. VAT
From: £11.34 inc. VAT
£9.45 ex. VAT
From: £3.60 inc. VAT
£3.00 ex. VAT
From: £6.59 inc. VAT
£5.49 ex. VAT
From: £4.21 inc. VAT
£3.51 ex. VAT
From: £4.36 inc. VAT
£3.63 ex. VAT
From: £3.48 inc. VAT
£2.90 ex. VAT
From: £47.33 inc. VAT
£39.44 ex. VAT
£34.20 inc. VAT
£28.50 ex. VAT
£34.20 inc. VAT
£28.50 ex. VAT

£28.24 inc. VAT
£23.53 ex. VAT
£28.24 inc. VAT
£23.53 ex. VAT

£138.05 inc. VAT
£115.04 ex. VAT

From: £8.11 inc. VAT
£6.76 ex. VAT
-

£3.24 inc. VAT
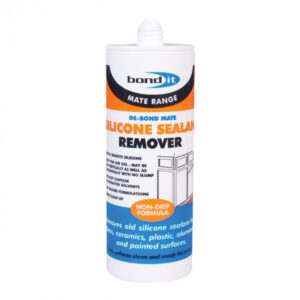
£2.70 ex. VATBond-It De-Bond Mate is A non-drip gel formula for the complete removal of cured silicone sealant, particularly when silicone has been accidentally smeared over glass, ceramics or countertops. Removes all types of silicone sealant, leaving surfaces ready for re-sealing. For all other Bond-it products on our website, please click here. For any further information, you may need on Bond-it, please visit their website here. -
£2.83 inc. VAT
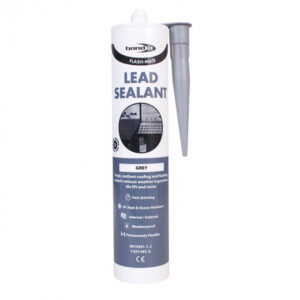
£2.36 ex. VATBond-it Flash Mate Lead Silicone is a low modulus neutral cure fast-skinning, roof sealant It is a high-performance neutral cure silicone sealant, specifically designed for use with roofing products both modern and traditional. For all other Bond-it products on our website, please click here. For an alternative silicone for lead, click here. For any further information you may need on Bond-it, please visit their website here. -
£8.14£1.19 inc. VAT£6.78£0.99 ex. VAT
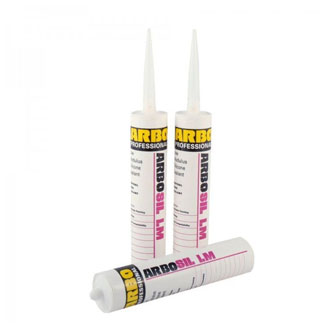
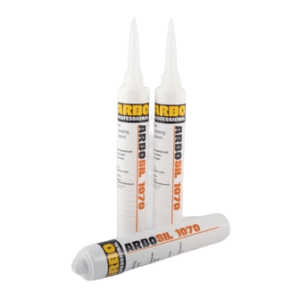
£8.14£1.19 inc. VAT£6.78£0.99 ex. VATARBO Arbosil 1070 represents a single-component, Low Modulus Silicone Sealant with Fire-Resistant properties. It undergoes curing upon exposure to moisture vapor, ultimately transforming into a highly flexible silicone rubber material. For more information on Arbo, please visit their website here. For more in our range of sealants, please click here. For application guns to use with this product, please click here. -
£3.61£1.19 inc. VAT£3.01£0.99 ex. VAT
£3.61£1.19 inc. VAT£3.01£0.99 ex. VATBond It LMH25 is a tough, flexible hybrid sealant ideal for installing internal and external window and door frames. Can also be used for sealing expansion and connection joints between most common substrates, without the use of a primer. PLEASE NOTE: THIS PRODUCT HAS A SHELF LIFE OF ONE MONTH BENEFITS - Solvent‐free & low odour. - Easy to tool and finish. - Can be overpainted with water based paints. - UV resistant. - Quick curing. - Contains no isocyanates, solvents, silicone and phthalates. - Excellent adhesion to most surfaces (even moist surf


Reviews
There are no reviews yet.