Silicone sealant is an incredibly versatile and essential product in both the construction industry and for household DIY projects. At Sealant Supplies, we are renowned for providing top-tier brands and high-quality adhesives, we understand the importance of using silicone sealant correctly to ensure the best results.
To help you understand how to use sealants, here’s a comprehensive guide on how to use silicone sealant effectively, ensuring durability and a professional finish…
- Understanding Silicone Sealant
Before diving into the application process, it’s crucial to understand what silicone sealant is and its benefits. Silicone sealant is a flexible, waterproof adhesive used in a variety of applications, from bathroom and kitchen areas to window and door installations. It’s known for its durability, high temperature resistance, and its ability to withstand weathering, making it an ideal choice for both indoor and outdoor use.
- Choosing the Right Silicone Sealant
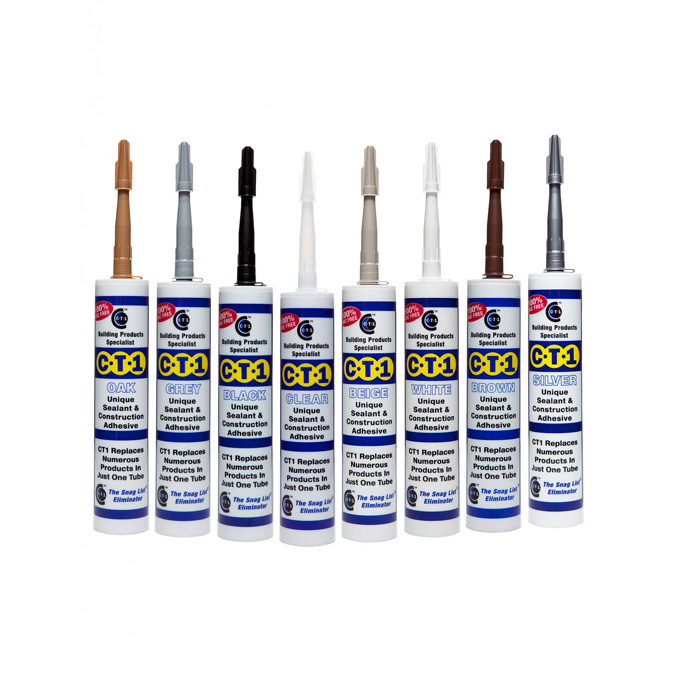
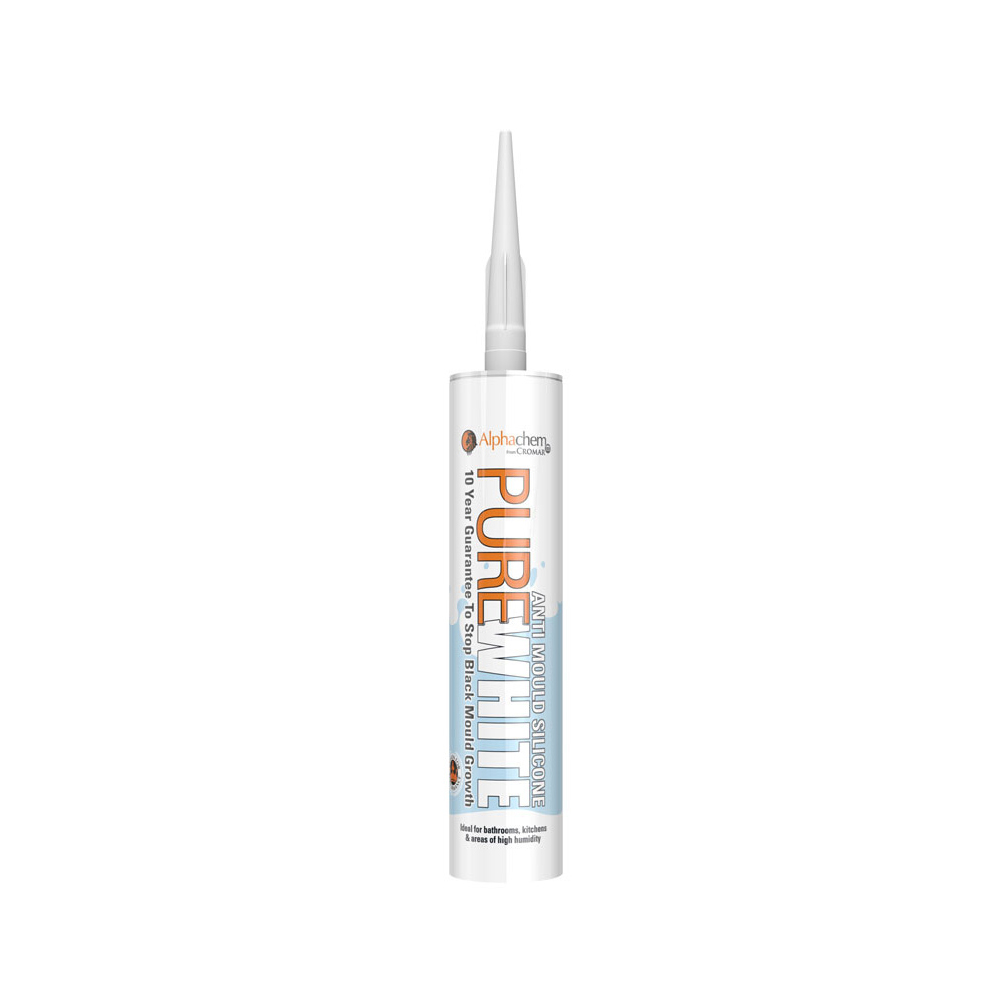
As a reputable sealant provider, we offer a range of silicone sealants tailored for specific applications. It’s essential to choose the right type for your project. For bathrooms and kitchens, opt for a mould-resistant formula. For outdoor projects, a weatherproof variant is best. Always check the product’s compatibility with the materials you’re working with.
- Preparation is Key
Proper preparation is crucial for a successful application. Ensure the surface is clean, dry, and free of any old sealant, grease, or dust. Use a cleaner or solvent if necessary, and allow the surface to dry completely. For better adhesion, consider applying a primer specifically designed for use with silicone sealant.
- Applying the Silicone Sealant
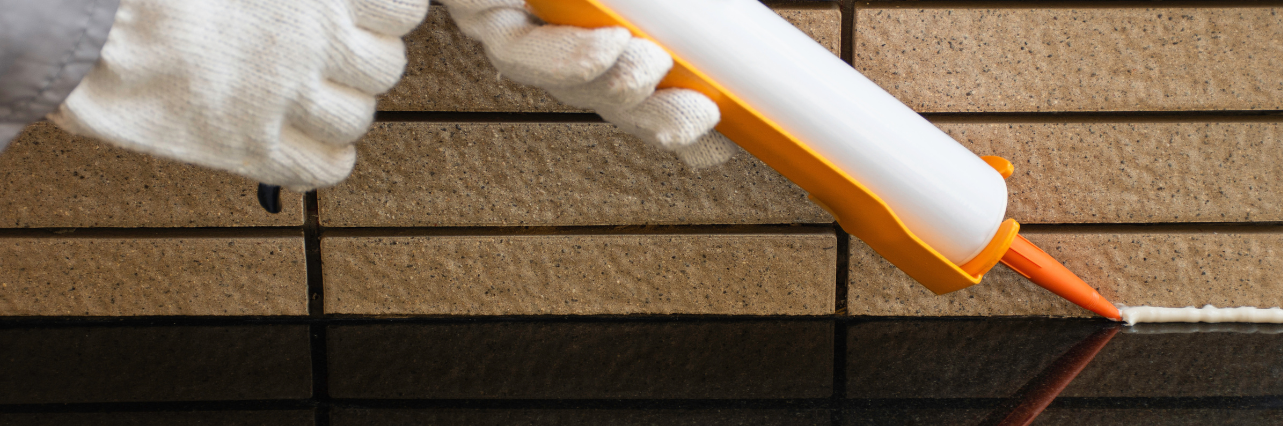
Cut the tip of the sealant cartridge at a 45-degree angle, ensuring the opening is appropriate for the size of the gap you’re filling. Insert the cartridge into a sealant gun and apply steady pressure to ensure a smooth flow. Hold the gun at a 45-degree angle and run a continuous bead of sealant along the seam. Remember, it’s better to apply too little than too much – you can always add more if needed.
- Smoothing the Sealant
After applying the sealant, smooth it out immediately before it starts to skin over. You can use a dampened finger, a smoothing tool, or a piece of plastic. This not only ensures a neat finish but also helps the sealant bond more effectively with the surface.
- Cleaning Up
Any excess sealant should be cleaned up promptly before it cures. Use a damp cloth for water-based sealants or a solvent for silicone-based sealants. Ensure you’re working in a well-ventilated area and wearing gloves to protect your skin.
- Curing Time
Allow the sealant to cure fully before exposing the area to water or moisture. Curing times can vary depending on the product and environmental conditions, so refer to the manufacturer’s instructions for specific guidance.
- Safety and Storage
Always work in a well-ventilated area and wear appropriate safety gear, such as gloves and safety glasses. Store unused silicone sealant in a cool, dry place and ensure the cap is tightly sealed to prevent the product from drying out.
Find out more and browse products online!
As a leading sealant supplies company, we pride ourselves on providing products that ensure durability, flexibility, and a professional finish. By following these steps and choosing the right product for your needs, you can achieve a seamless and effective application of silicone sealant for your project. Remember, the key to a successful application lies in proper preparation, choosing the right product, and meticulous application.
All of the sealants we provide can be found and purchased via our website however, if you have any questions do not hesitate to get in touch with our team via 01708 525 866 or email info@selantsupplies.co.uk and we will be in touch.