Caulking is a fundamental skill for any DIY enthusiast or professional decorator. It serves a multitude of purposes, such as sealing gaps, preventing air and water leaks, and enhancing the aesthetics of a space. However, achieving a flawless finish requires not only skill but also the right tools and materials.
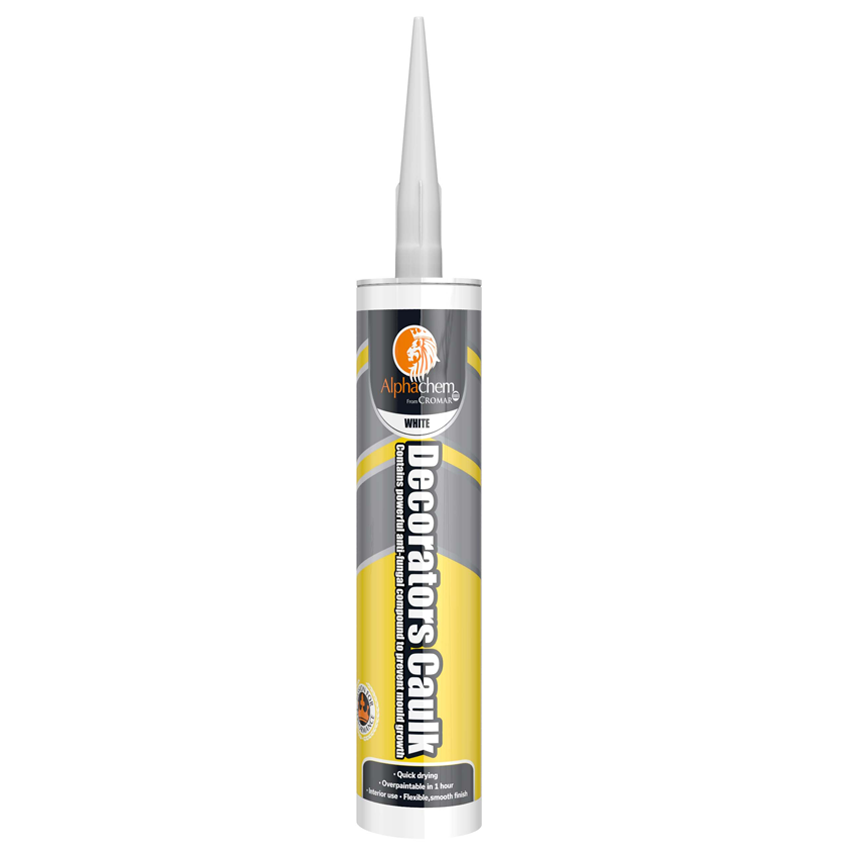
To help you understand more about perfecting your caulking technique we explore the process and showcase some of the top products in the market, including Cromar AlphaChem Professional Decorators Caulk 300ml, Bostik A80 Decorators Acrylic Caulk, Everbuild Everflex 125 One Hour Caulk, PC Cox Pro Powerflow Caulking Gun, and Milwaukee M18 Caulk Gun.
Preparing the Surface
Before applying caulk, it is crucial to prepare the surface properly. Start by cleaning the area thoroughly, removing any dirt, dust, or loose particles. Use a scraper or putty knife to scrape away old caulk or paint residue. For best results, ensure the surface is dry and free from grease or oil.
Selecting the Right Caulk
Choosing the appropriate caulk for your project is essential. Each product mentioned above has its own unique features and benefits. The Cromar AlphaChem Professional Decorators Caulk 300ml is known for its excellent adhesion, flexibility, and durability. Bostik A80 Decorators Acrylic Caulk offers a smooth finish and is paintable. Everbuild Everflex 125 One Hour Caulk is perfect for time-sensitive projects due to its quick drying time. Assess your requirements and select the caulk that best suits your needs.
Using the Caulking Gun
A caulking gun helps to dispense caulk evenly and efficiently. The PC Cox Pro Powerflow Caulking Gun and Milwaukee M18 Caulk Gun are both reliable choices. Load the caulk tube into the gun, ensuring it is properly seated. Cut the tip of the caulk tube at a 45-degree angle to create an opening that matches the size of the gap you will be filling. Insert the caulk tube into the gun, making sure it is securely in place.
Applying the Caulk
Hold the caulking gun at a 45-degree angle to the surface and apply steady pressure on the trigger. Move the gun along the gap in a smooth, continuous motion. Avoid stopping and starting as this can create uneven lines. For narrow gaps, use a fine bead of caulk, and for wider gaps, use a larger bead. Aim to slightly overfill the gap to allow for shrinkage. Repeat the process until the entire gap is filled.
Smoothing the Caulk
To achieve a professional finish, smooth the caulk before it dries. Wet your finger or a caulk smoothing tool with water or a mild soapy solution to prevent sticking. Gently run your finger or the tool along the caulk line, applying consistent pressure. Wipe off any excess caulk on your finger or tool with a damp cloth. This step helps to create a seamless, neat appearance.
Drying and Painting
Allow the caulk to dry according to the manufacturer’s instructions. The drying time may vary depending on the product used. Once the caulk is completely dry, you can paint over it to match the surrounding surface. Ensure the caulk is compatible with the type of paint you will be using and follow the paint manufacturer’s guidelines.
Mastering the perfect caulking technique is a valuable skill for anyone involved in home improvement or decorating projects. By following the steps outlined above and using high-quality products such as Cromar AlphaChem Professional Decorators Caulk 300ml, Bostik A80 Decorators Acrylic Caulk, Everbuild Everflex 125 One Hour Caulk, PC Cox Pro Powerflow Caulking Gun, and Milwaukee M18 Caulk Gun, you can achieve flawless results.
Remember, the key to a successful caulking job lies in proper surface preparation, selecting the right caulk for the job, using a reliable caulking gun, and applying the caulk smoothly and evenly. Take your time and pay attention to detail to ensure a professional finish.
In addition to the products mentioned, it’s important to note that proper ventilation is crucial when working with caulk, as some products emit strong odours. Always work in a well-ventilated area or use a respirator if necessary. Additionally, follow the safety instructions provided by the manufacturer for each specific product.
Lastly, practice makes perfect. Don’t be discouraged if your first caulking job doesn’t turn out exactly as you envisioned. With time and experience, you’ll become more proficient in the technique, and your results will improve.
Speak to our team
The perfect caulking technique involves thorough surface preparation, the selection of high-quality caulk, the use of a reliable caulking gun, and precise application. The products mentioned, including Cromar AlphaChem Professional Decorators Caulk 300ml, Bostik A80 Decorators Acrylic Caulk, Everbuild Everflex 125 One Hour Caulk, PC Cox Pro Powerflow Caulking Gun, and Milwaukee M18 Caulk Gun, are all excellent choices to assist you in achieving professional-grade results.
By following the steps outlined in this guide and using these top-quality products, you’ll be well on your way to mastering the art of caulking. So, roll up your sleeves, gather your tools, and embark on your next caulking project with confidence, knowing that you have the knowledge and the right materials to achieve the perfect finish.
If you would like to speak to our team, do not hesitate to get in touch. We are here to assist you, simply call 01708 525 866 or email info@sealantsupplies.co.uk and we will be in touch as soon as possible.


