Colder mornings, hotter showers, steamier baths.
Now it’s getting into winter, we’re entering the season for the inside kind of jobs rather than getting to work in the garden. With family and friends flocking round during the festive period, a lot of us can be on a quest to refresh our homes. A lick of paint in the spare room, getting the skirtings finished, or even going as big as finally getting a new kitchen or bathroom fitted. With so many products on the market, we want to help you navigate around the best ones for your project.
Although it might seem that ‘sealant is sealant’, it can really help to use the right one with the right properties dependent on your project. With so many on the market promising a range of benefits it can be a minefield. Breaking down the things you want from a sealant is the easiest place to start. If you’re decorating, then you’d ideally like it to be over paintable. Need an adhesive? What surfaces are you going to be adhering to each other? Overhauling a room? Is it going to be subject to dampness like a bathroom? Then you’ll need an internal (HM) sealant with mould resistant properties to avoid the dreaded black seal!
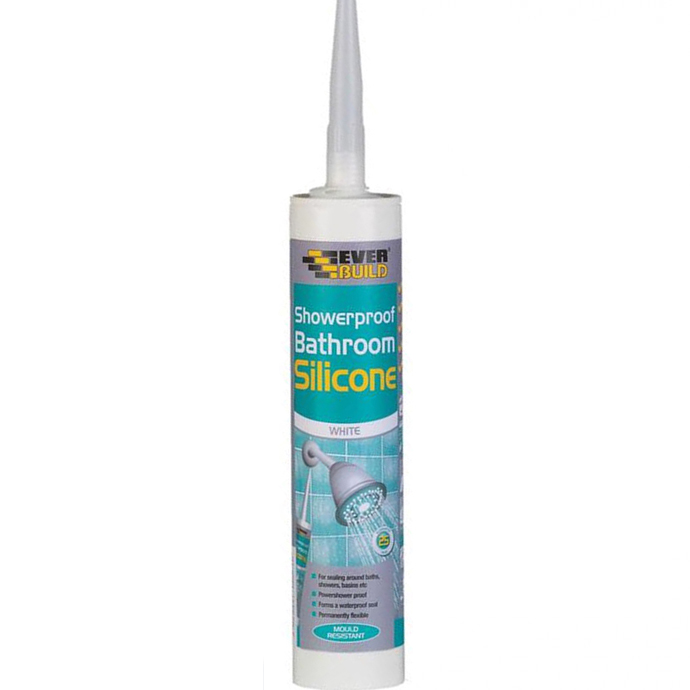
The choice of bathroom sealants may look never-ending, and whilst the majority of HM sealants will be fine to use in the bathroom, some may be better suited to sealing the shower rather than the window. If the shower or bath is where you are going to start, Everbuild Showerproof Bathroom Sealant is highly rated and budget friendly. Sinks and toilets are also listed on its extensive CV of expertise. It may go without saying, but tips are always beneficial and never a nuisance, so do ensure your area is completely dry before sealing and allow 24 hours to completely dry before getting it wet. After that, you’re free to splash around all you want! When it comes to baths, filling your tub halfway before sealing will prevent any separating of the sealant and introducing gaps for that blasted mould to live. The Showerproof Bathroom Sealant comes in 2 colours, white and clear, so if you’re looking to match your avocado sweet (everything comes back into fashion!) then you may want to look at another option.
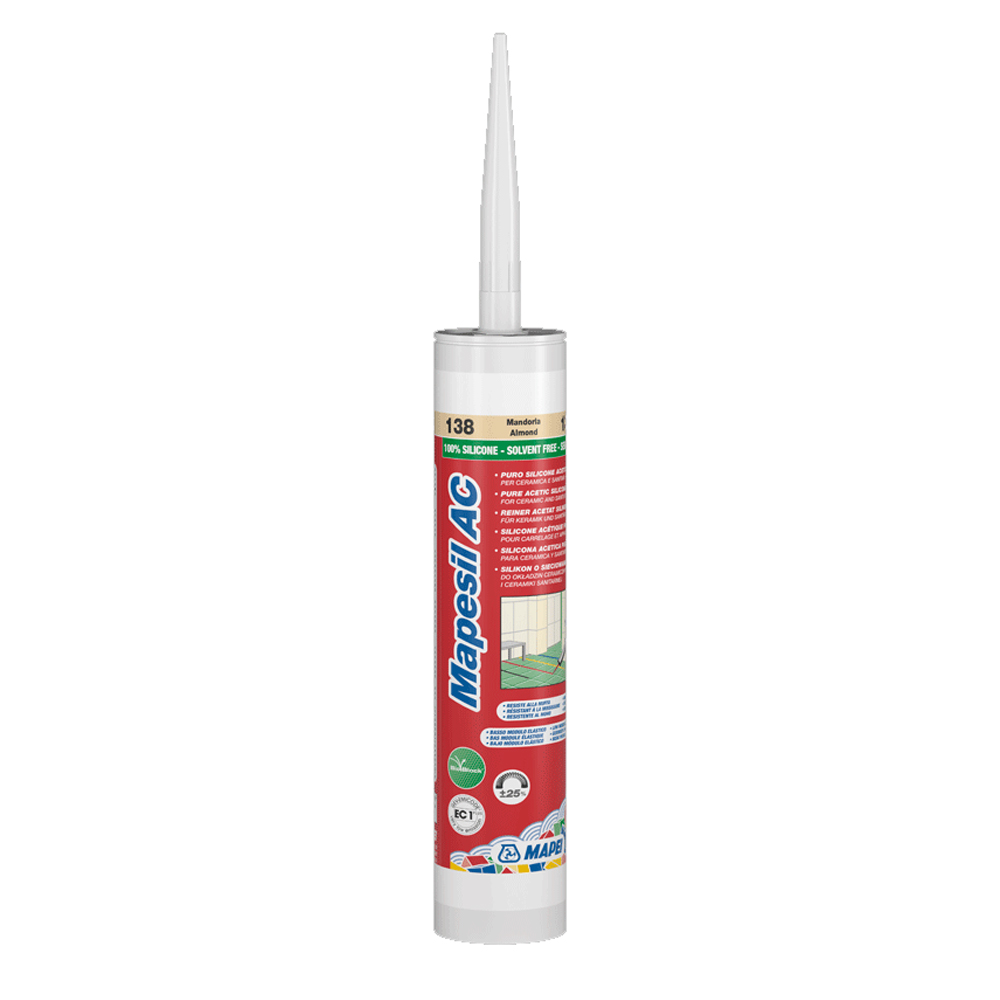
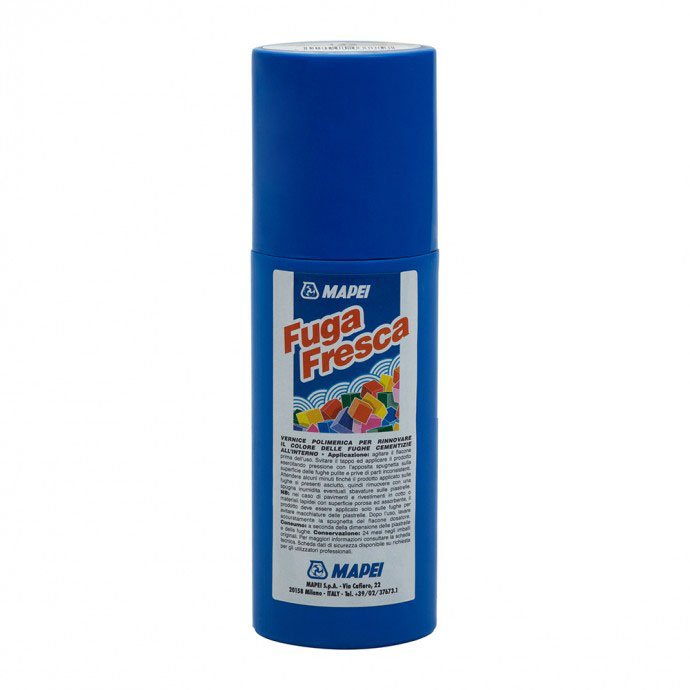
The colour of sealants is forever expanding, and with the RAL colour match sealants the possibilities truly are endless. For an off the shelf HM sealant which will complete your whole bathroom with one product, you want to look at Mapei’s Mapesil AC. The colour range is extensive for the price with a shade to match nearly every project… unless, that is, you are after a bubble gum pink! Other products in their range all follow this extensive colour chart so your whole bathroom/kitchen can match right down to the smaller details. Ultracolor Plus Grout and Fuga Fresca Grout Reviver come in all 54 colours. If colour matching to your flooring is becoming a nightmare, bring along a sample and head on down to us as we have a giant colour chart in store that you can come and take full advantage of.
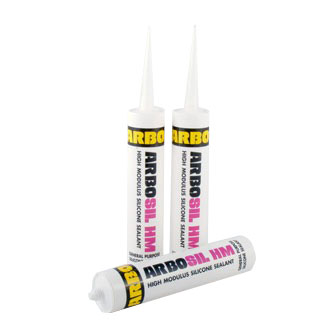
And if you’re looking for one sealant to do the bathroom, kitchen, windows, doors, etc… then may we recommend ARBO HM. Its colour range may not be as extensive as Mapesil, but it does have 5 shades all with fungicidal properties, which will fight to prevent the build up of mould in those damp areas. So, if you do have any tubes left over, this is great little baby to keep for other indoor jobs.
If sealant application isn’t your forte but having a crack at it yourself is what you want to do, there are lots of tools and tips to help. So, here’s your step by step on how to perfect your silicone at home.
1 – Make sure your area is dust free, clean, and dry. This will give you the optimum sealing surface to ensure it will last for years.
2 – Once you have your tube in the gun and you’re ready to apply, a stead hand and an even bead is what you need. Masking up your area with tape can be beneficial if you’re a bit unsteady.
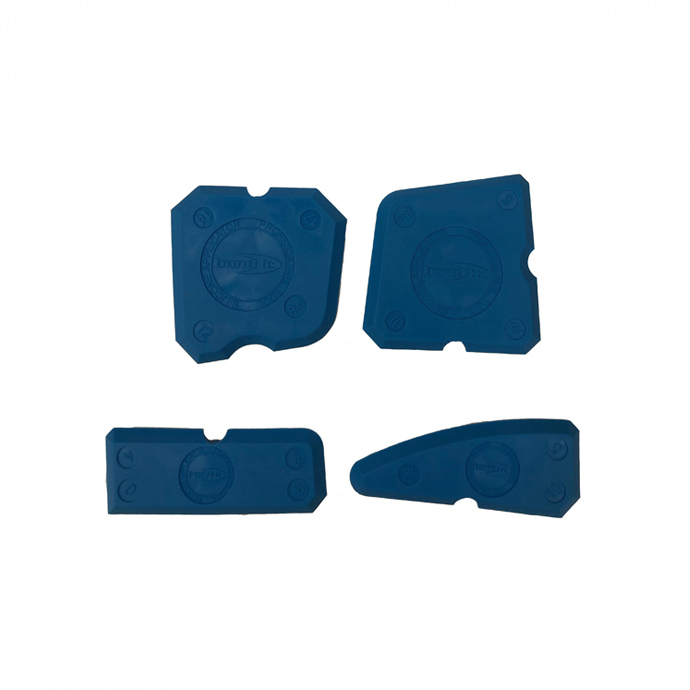
3 – a spray bottle with warm water and a tiny squib of washing up liquid in is the perfect solution when its time to tool your silicone in. Give your masterpiece a spray and grab your finger/finishing tool and run it over your sealed joint. This will give it the most seamless look to match your brand new room.
4 – Remove your tape, if you used any, and leave to dry for a full 24 hours before you jump in for a wash.
And there you go, you’re a professional!