


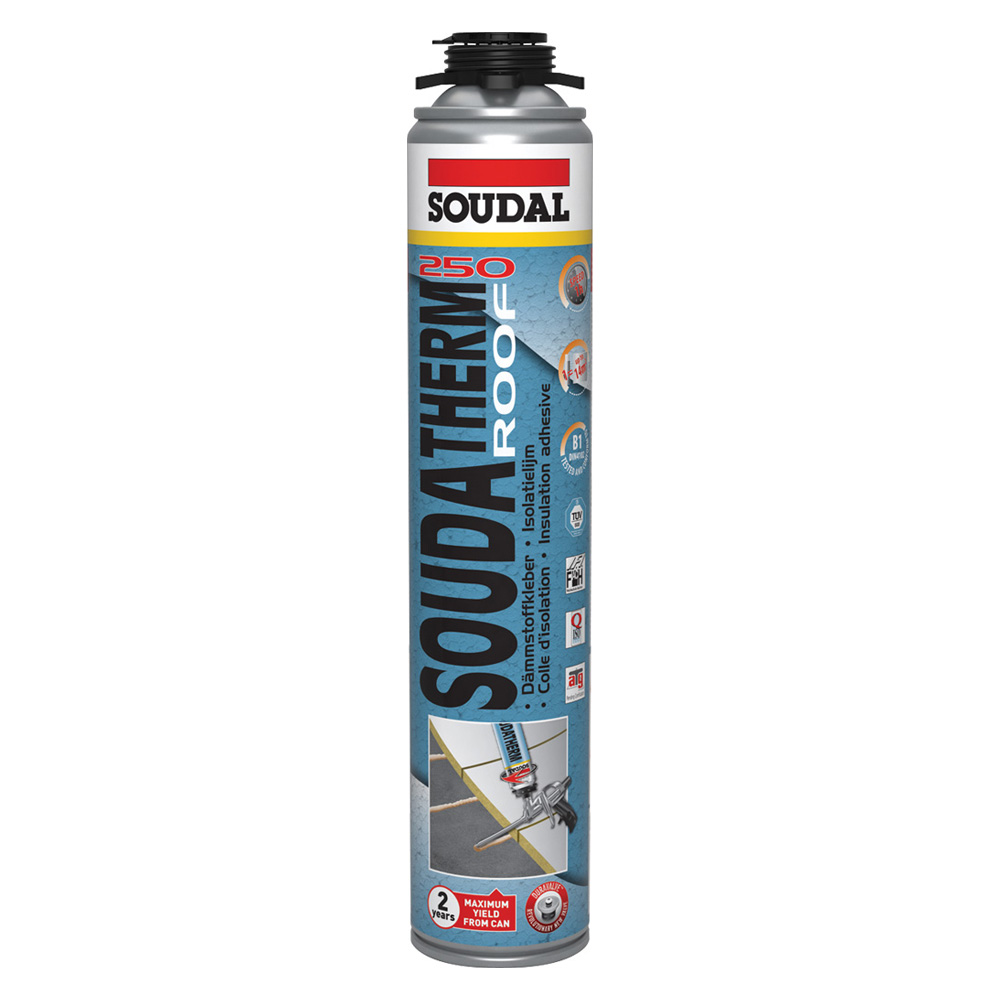
Soudal Soudatherm Roof 250 800ml
£15.00 inc. VAT
£12.50 ex. VAT

- Product ID: 128609
- Suitable For: durable bonding of roofing insulation boards onto most underlying roofing substrates.
- Area of use: INT
- Application Method: foam gun
- Time to full cure: 40 minutes
- Volume: 800ml
- Container Type: canister
- Type: foam
- Colour: orange
- Brand: Soudal
- Manufactuer: Soudal
- Box Size: 1
Data Sheets
Soudatherm Roof 250 is a polyurethane adhesive foam in small canister format for the efficient, clean, economical and durable bonding of roofing insulation boards onto most underlying roofing substrates. The filling characteristics of the adhesive make it suitable for uneven surfaces. The adhesive can be applied efficiently and quickly with a Compact PU Foam Gun. It covers large areas much quicker than other fixing methods.
Ideal for smaller applications, each canister bonds up to 14M².
Properties
– Easy and fast to apply (saving of up to 30 % in labour time).
– Good adhesion on all surfaces (except PE, PP and PTFE).
– Fast curing
– Very precise to dose.
– Does not age or rot, but should not be exposed to UV radiation.
– Resistant to cold and heat
– Resistant to wind forces
– Freon free (not harmless to ozone layer and greenhouse effect)
– Extremely light
– Water repellent but not waterproof.
– Open time: Max 8 min
– Resistant against wind aspiration
– Solvent free
– Doesn’t attack polystyrene.
For more in our expanding foam range, please click here.
For more in our Soudal range, please click here.
Alternatively, if you would like more information on Soudal and their products, please visit their website here.
Soudatherm Roof 250 is suitable for:
– PIR/PUR covered with o Mineral-coated glass fibre
– Bituminous glass fibre (Sand surfaced or chipped, not on burnable PP surfaces)
– Aluminium
– Expanded polystyrene (EPS)
– Mineral insulation materials (e.g. Perlite, Multipor®, Fermacell®)
– Mineral wool (but on flat surfaces, Soudatherm Roof 170 is a better bonding solution)
On many types of surfaces:
– Insulation on insulation (multi-layer)
– Even and uneven surfaces
– Masonry surfaces (e.g. concrete, fibre cement, cellular concrete)
– Steel roof decks
– Bituminous roofing felts, sand surfaced or chipped
– Wooden boards, hard PVC, plaster,…
– On vapour barriers:
– Check the technical data sheet of the vapour barrier to make sure it is suitable for insulation bonding
– To be tested prior to use or used only with approval of the manufacturer of the barrier
– Bituminous vapour barriers are possible
– Aluminium coated vapour barriers: only with the approval of the manufacturer
– Doesn’t bond on PP, PE or PTFE (Teflon)
– Always perform a prior adhesion test
APPLICATION
Gluing
The materials should be clean and free of dust and grease. Loose parts should be removed and the surface should be coated with a primer if necessary. For renovation and especially ballasted roofs, make sure the bonding surface is firmly attached to the substructure. Shake at least 20 seconds with the can upside down to ensure proper mixing of the ingredients and maximum yield.
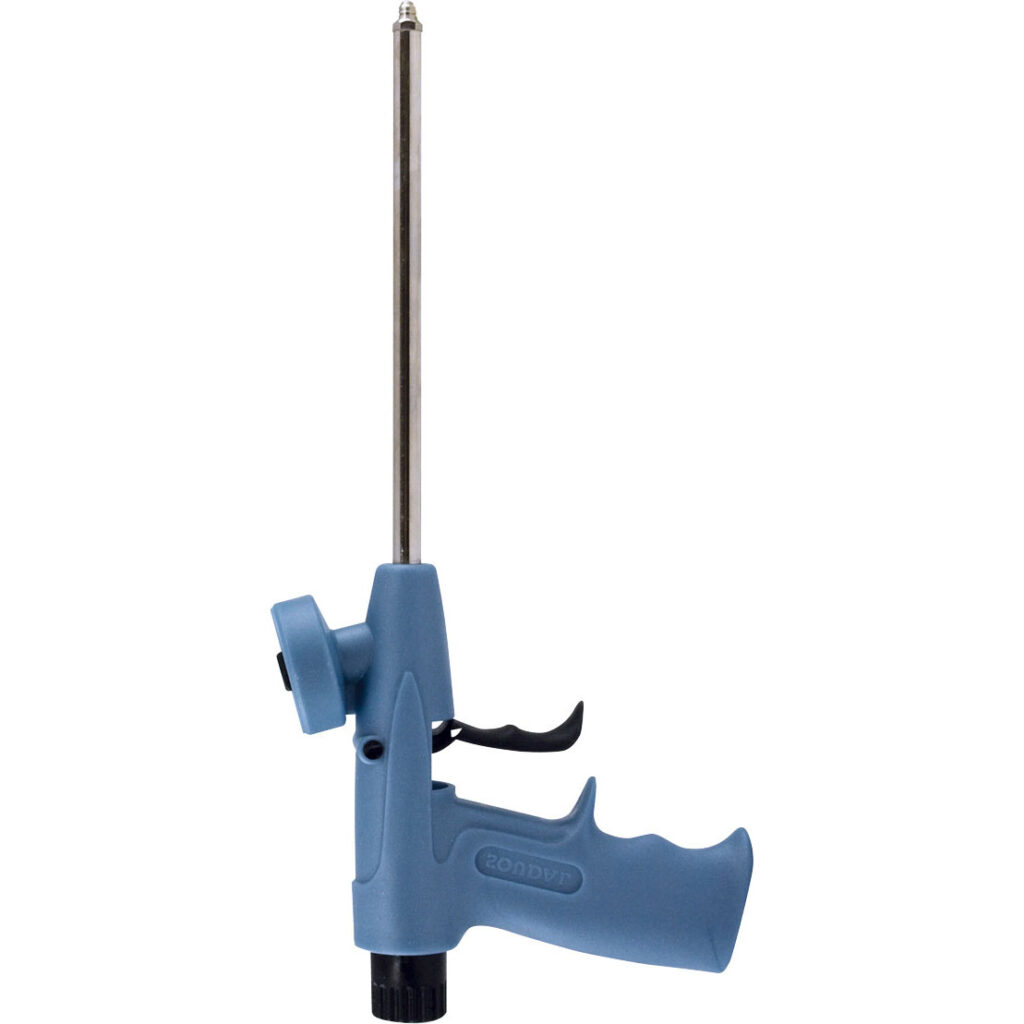
• Thread the can tightly to the Applicator Gun.
• Adjust extrusion rate to allow for 30mm beads using the setting screw at the end of the applicator gun.
• Apply directly onto the surface, holding the gun at an angle of about 90° to the surface and ensure a distance of about 1 to 2 cm between nozzle and surface. The nozzle should not be in direct contact with the surface.
It is recommended that at least 4 beads/m (30mm diameter) should be applied (80 to 100 g/m²). On the corners and the edges of the roof, at least 8 beads are recommended. The correct number of beads (and thus the usage of adhesive) can be calculated according to EN 1991-1-4. The region, the roof area, the location and structure height and also the location on the roof (middle, corners or edges) are factors that have to be taken into account.
• On uneven surfaces (for example old bituminous roofing felts), more adhesive (thicker beads up to 50mm) needs to be applied in order to make sure that there is at least 40% adhesive transfer between surface and insulation panel.
• Maximum allowed unevenness underneath an insulation board is 1cm.
In the case of steel deck, the adhesive is applied in beads on the top (upper side) of the steel deck. In case that a vapor barrier is present on the steel deck, the adhesive should still be applied on the top (upper side) of the steel deck in beads and not in e.g. a zigzag pattern between the tops. After extrusion, the panels need to be pressed down in the adhesive beads within the open
time of 8 minutes. Then do not walk on the applied insulation panels for about 1 hour.
• It’s recommended to shake the can after each work interruption. Do not hammer on the boards
• When the boards are pulled back or displaced (and the adhesive layer is broken), it’s necessary to apply extra adhesive to get a good bond.
The installer should make sure that the adhesive is fully cured before applying the roofing membrane to the insulation board, minimize walking over the boards during the first hour (especially on uneven surfaces). Cured adhesive should be removed mechanically.
Filling
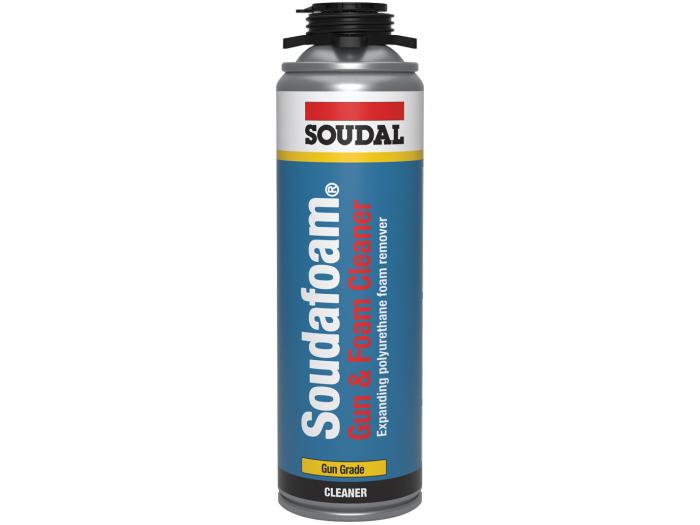
Shake at least 20 seconds with the can upside down to ensure proper mixing of the ingredients and maximum yield. Thread the can tightly to the Applicator Gun. It’s recommended to shake the can after each work interruption. When the product is applied in multiple layers, moisten the surface between each layer. If not yet cured, use Soudal Gun and Foam Cleaner for cleaning. Cured adhesive should be removed mechanically.
You must be logged in to post a review.
| Elementlength | |||||||
| up to 1,5 m |
up to 2,5 m |
up to 3,5 m |
up to 4,5 m |
up to 2,5 m |
up to 3,5 m |
up to 4,5 m |
|
| Type of window frame material |
Minimum witdth of joints for a butled mounting b in mm |
Minimum witdth of joints for a inner mounting b in mm |
|||||
| Hard PVC (white) | 10 | 15 | 20 | 25 | 10 | 10 | 15 |
| Hard PVC and PMMA (dark) (colour extruded) |
15 | 20 | 25 | 30 | 10 | 15 | 20 |
| Hard PUR integral foam | 10 | 10 | 15 | 20 | 10 | 10 | 15 |
| Wood-aluminium-window | 10 | 10 | 15 | 20 | 10 | 10 | 15 |
| Aluminium-plastic sandwich frame (bright) |
10 | 10 | 15 | 20 | 10 | 10 | 15 |
| Aluminium-plastic sandwich frame (dark) |
10 | 15 | 20 | 25 | 10 | 10 | 15 |
| Wooden window frame | 10 | 10 | 10 | 10 | 10 | 10 | 10 |
Related Products

From:
From:

-
£37.01 inc. VAT
£30.84 ex. VATBond-It De-Bond Mate is A non-drip gel formula for the complete removal of cured silicone sealant, particularly when silicone has been accidentally smeared over glass, ceramics or countertops. Removes all types of silicone sealant, leaving surfaces ready for re-sealing. For all other Bond-it products on our website, please click here. For any further information, you may need on Bond-it, please visit their website here. -
£70.80 inc. VAT
£59.00 ex. VATBond-it Flash Mate Lead Silicone is a low modulus neutral cure fast-skinning, roof sealant It is a high-performance neutral cure silicone sealant, specifically designed for use with roofing products both modern and traditional. For all other Bond-it products on our website, please click here. For an alternative silicone for lead, click here. For any further information you may need on Bond-it, please visit their website here. -
£8.14£1.19 inc. VAT£6.78£0.99 ex. VAT
£8.14£1.19 inc. VAT£6.78£0.99 ex. VATARBO Arbosil 1070 represents a single-component, Low Modulus Silicone Sealant with Fire-Resistant properties. It undergoes curing upon exposure to moisture vapor, ultimately transforming into a highly flexible silicone rubber material. For more information on Arbo, please visit their website here. For more in our range of sealants, please click here. For application guns to use with this product, please click here. -
From:£3.83£1.19 inc. VAT£3.19£0.99 ex. VATArbosil HM is a One-part High Modulus Acetoxy Cure Silicone Sealant, which cures rapidly on exposure to moisture vapour to form a resilient elastic silicone rubber. This product contains a fungicide to make it resistant to fungus and mildew. Arbosil HM bonds well to acrylic, ceramic, metal, glass and laminate surfaces and will not discolour during its service life whilst maintaining good elasticity. For more information on Arbo, please visit their website here. For more in our range of sealants, please click here. For application guns to use with this p


Reviews
There are no reviews yet.